Using RabbitMQ
RabbitMQ is the most widely deployed open source message broker.
Creating a container with RabbitMQ
docker run --name rabbitmq -d -p 5672:5672 -p 15672:15672 -t rabbitmq:3-management
Initiating Queue/Exchange Configuration in RabbitMQ
Devprime-based microservices automatically connect to Stream services such as RabbitMQ.
- Open Rabbitmq in the browser at http://localhost:15672
- Use the default guest/guest username and password
- Go to the Queue menu > Add a new queue > “orderevents”
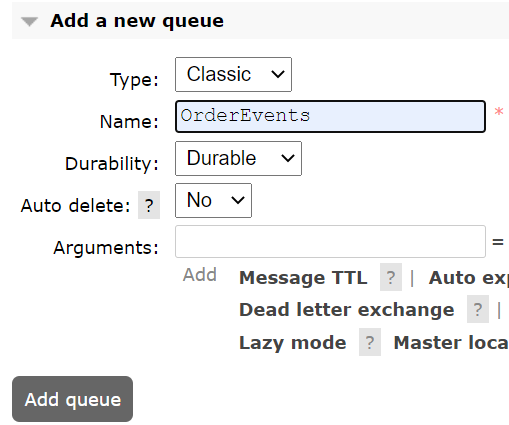
- Repeat the step in item 3 and add “paymentevents”
- The next step will be to create an Exchange called “Devprime”
- Go to the Exchanges menu and locate the “Add a new exchange” option
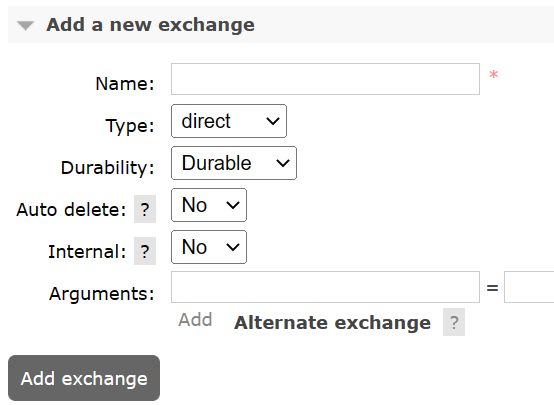
- Enter the name “Devprime” and add the new exchange
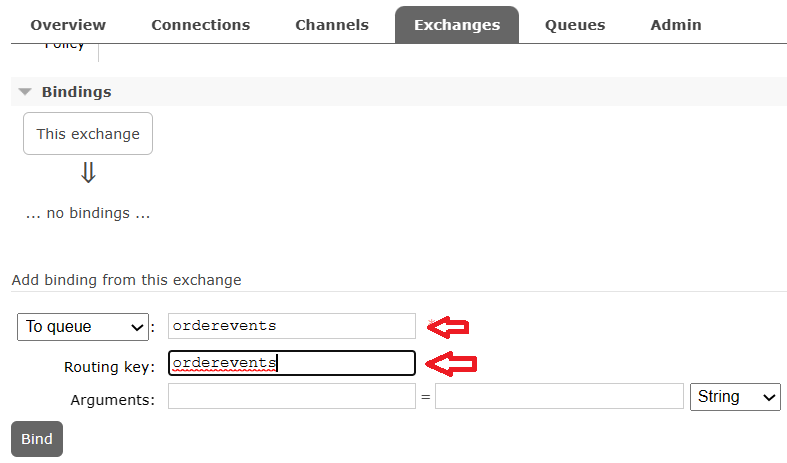
- Now we are going to bind and link the “Devprime” exchange with the “orderevents” and “paymentevents” queues.
- Click on the “Devprime” exchange and locate the Bindings option and add “orderevents” in “to queue” and in “Routing key” and then click on Bind.
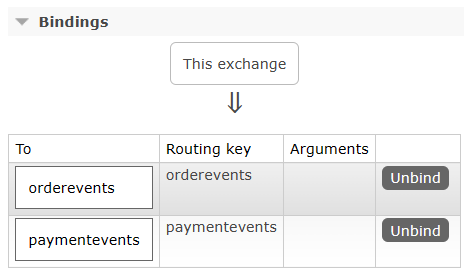
- Repeat step 9 and add “paymentevents” to “to queue” and “Routing key” and then click Bind.
The names of the queues or topics are used in the Devprime samples. Throughout the projects, you will define other names as you need as well as other settings such as a fanout exchange.
Last modified August 20, 2024 (2f9802da)