Render
Introduction
The Devprime platform accelerates software developer productivity by offering a complete software architecture design, components with intelligent behaviors, accelerators for code deployment, and updates with new features.
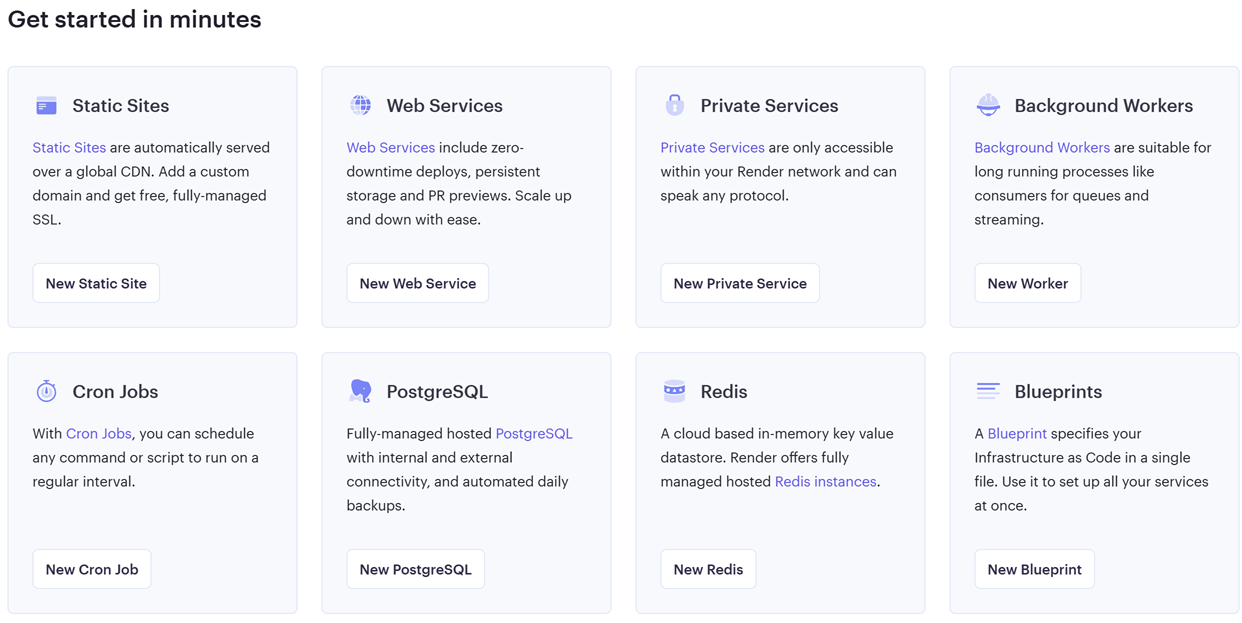
In this article, we’ll cover the use of the Host Render service, an application hosting platform that offers features such as Web Services, Static Sites, Background Workers, Cron Jobs, docker, PostgreSQL, and Redis.
During this article, we’ll use a microservice with a business rule related to orders and the PostgreSQL database. We’ll demonstrate the steps to create the microservice, the hosting services in Render, and then the configurations needed to make it available using the free plan.
Checklist and preperation of the initial environment:
- Open an account on the Devprime platform and purchase a [(Developer/Enterprise)] license(https://devprime.io/pricing).
- Install an updated version of .NET (Linux, macOS, and Windows)
- Install and/or update Visual Studio Code and/or Visual Studio 2023 Community / Professional / Enterprise.
- Install and/or update docker (For Windows, use WSL2).
- Initialize the PostgreSQL and RabbitMQ containers in docker and add the ‘orderevents’ queue in RabbitMQ.
- Install and activate the latest version of the Devprime CLI.
- Create a folder for your projects and set read and write permissions.
- See the article “Creating the First Microservice” to explore getting started with the Devprime platform.
- Create a Host account on Render.com.
Creating a microservice to use in the example
The first step is to create a new microservice that we can use as a template to publish to the host. The name of this microservice will be set to “ms-render”, as demonstrated in the command below.
- Building the first microservice
dp new ms-render --stream rabbitmq --state postgresql - Adding an example business rule “Order”
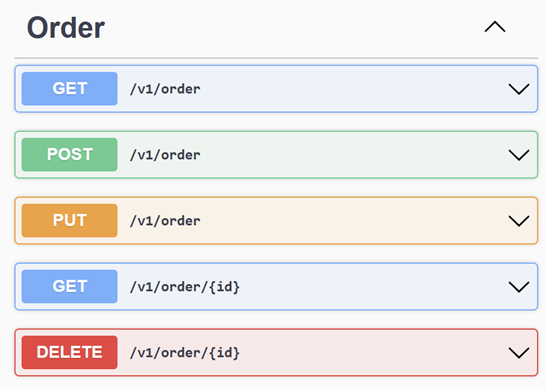
dp marketplace order - Initializing and accelerating microservice deployments
dp init
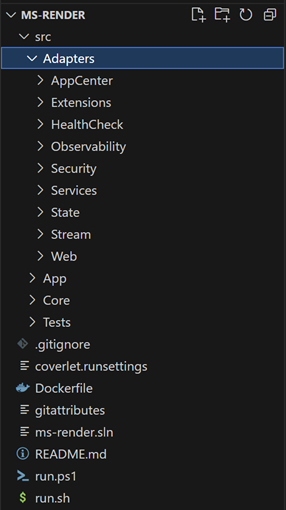
After the creation of the new microservice, enter the project folder “ms-render”, there you can view all implementations by Visual Studio Code as demonstrated in the article related to creation of the first microservice.
At this time we will not use RabbitMQ and will disable it in the Stream Adapter settings via the config file in “src\App\appsettings.json”.
-
Enter the new post
ms-orderand open it through Visual Studio Code
code src\App\appsettings.json -
Locate the “DevPrime_Stream” key and in the “Enable” option put “false”.
-
Change the “OrderCreated” Handler by commenting out the line “Dp.Stream.Send(destination, eventName, eventData);” so that it does not trigger the event sending through the Stream.
Open the Handler from Visual Studio Code
src\Core\Application\EventHandlers\Order\OrderCreatedEventHandler.cs
IMPORTANT:
In this example we are using a standard relational database and therefore it is necessary after having the repository implemented by dp init it is necessary to apply the table structure in the database using SQL scripts or using the command dp state apply.
Creating the PostgreSQL database on Render.com
In this example, we will be using a PostgreSQL database in a free instance. Start the creation process and configure the following parameters: Name / Database / User / Region / PostgreSQL Version. At the end of the procedure, you will have access to the settings as illustrated in the image below, which is a crucial step in obtaining the necessary credentials.
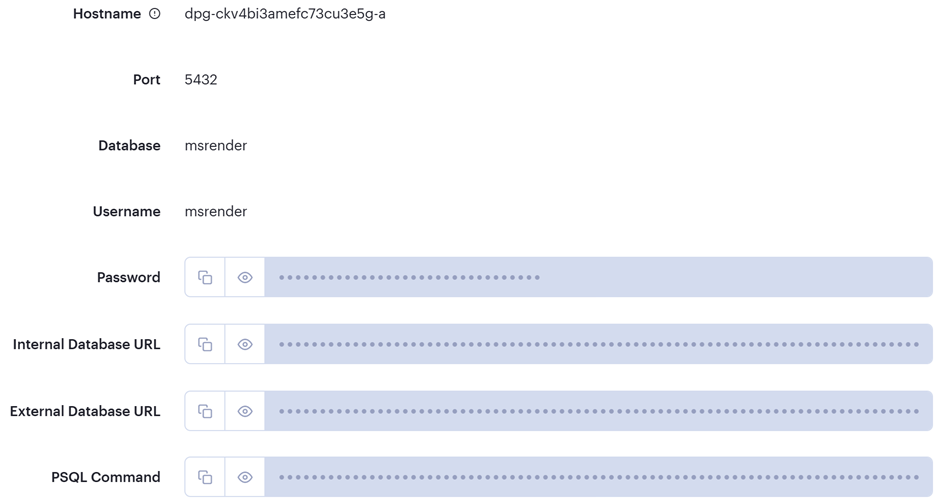
The values below are just examples to exemplify how to get the PostgreSQL database configurations in the Render.com and then transport it to the microservice according to the configuration.
| Item | Description | Value |
|---|---|---|
| Hostname | Internal URL | DPG-CKV4BI3AMEFC73CU3E5G-A |
| Port | TCP Port | 5432 |
| Database | Database Name | msrender |
| Username | Access User | msrender |
| Password | Password | 0KxiNwzyNyIviwVizfjrROkmMjnd41yp |
| Internal Database URL | Internal Connection String | postgres://msrender:0KxiNwzyNyIviwVizfjrROkmMjnd41yp@dpg-ckv4bi3amefc73cu3e5g-a/msrender |
| External Database URL | External Connection String | postgres://msrender:0KxiNwzyNyIviwVizfjrROkmMjnd41yp@dpg-ckv4bi3amefc73cu3e5g-a.oregon-postgres.render.com/msrender |
| Connection | Composition of the Devprime connection | Host=dpg-ckv4bi3amefc73cu3e5g-a.oregon-postgres.render.com; username=msrender; Password=0KxiNwzyNyIviwVizfjrROkmMjnd41yp; Database=msrender |
In the example below we demonstrate how to apply the PostgreSQL configuration on the microservice via the “src\App\appsettings.json” configuration file. To access in the local environment, it is necessary to use the external url of the database.
Open Visual Studio Code and put your connection in JSON.
code src\App\appsettings.json
|
|
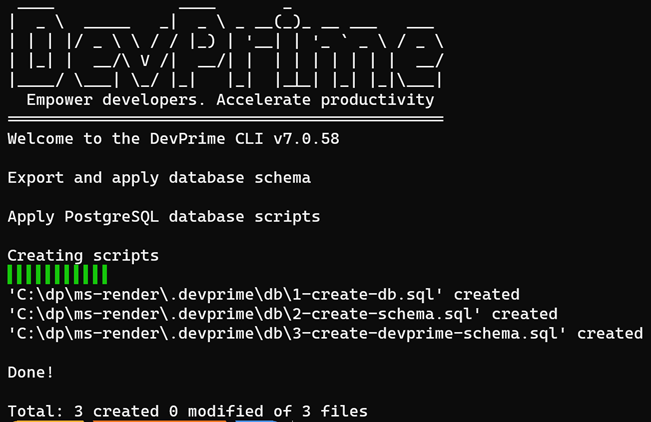
Applying the PostgreSQL Data Structure in Render.com
In the previous step you obtained the credentials and configured it in “src\App\appsettings.json” and at that point we will apply the data structure so that we can test the microservice.
Run the command below
dp state apply state1
At the end of the process, the table structure will be created in the PostgreSQL database in Render
Run the microservice locally and do a Post/Get
In the previous step we set up the database pointing to the PostgreSQL service in Render so we can already perform a test by writing and reading information.
Start the microservice by running one of the scripts below:
.\run.ps1 (Windows) ou ./run.sh (Linux, macOS)
Access the microservice’s local url at https://localhost:5001 or http://localhost:5000
Exporting the settings in yaml file
The application configuration is passed to the Render in key/value format. At this point, we’ll use the “dp export kubernetes” command to export template YAML files to Kubernetes. This will allow us to copy the following parameters: devprime_app, devprime_observability, devprime_web, devprime_stream1, devprime_state1, devprime_Custom, and devPrime_Services.
Run the command
dp export kubernetes
The export will create two files:
- deployment.yml
- service.yml
The image below demonstrates the example of the “deployment.yml” file.
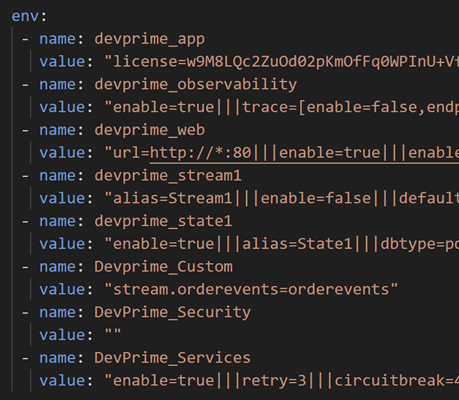
To view the variables, open the “Devpoyment” file in Visual Studio Code.
code .devprime\kubernetes\deployment.yml
Pushing the code to a private repository on Github
We recommend using a private Github repository when linking the Render when authoring Web Services. Devprime offers a command that removes the credentials from the local configuration file.
To delete the project credentials, run the following command:
dp clean
Creating a Web Service in Render
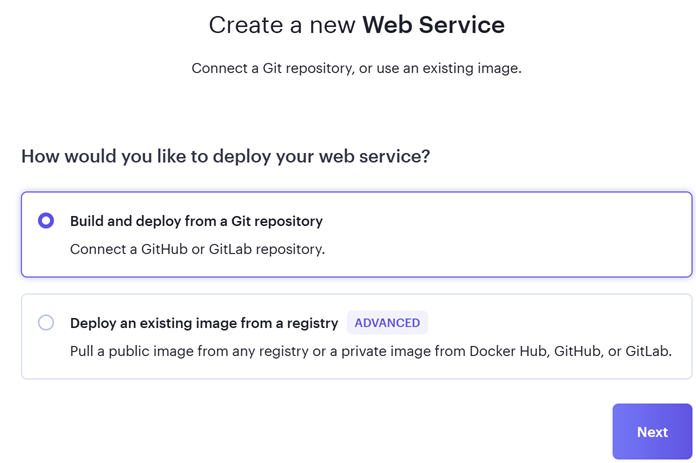
Now it’s time to create a new Web Service in Render using the option to link to the source code made available through a private repository on GitHub. As you proceed, you’ll have the option to integrate with your GitHub account and choose a specific repository that will be used for publishing to Render. The Render uses the dockerfile present in the root folder of the project to build the image of our microservice.
After moving forward, the next step is to set some initial parameters for creating the new Web Service in Render.
| Item | Value |
|---|---|
| Name | Microservice Name |
| Region | Oregon |
| Branch | Main |
| Root Directory | blank |
| Runtime | docker |
| Instance Type | Free |
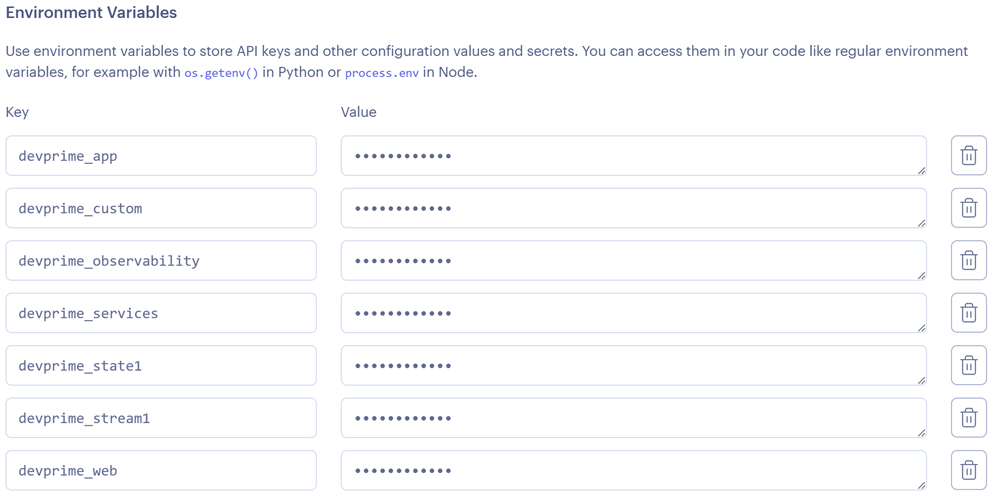
At the end of the form, locate the “Advanced” option and choose “Add Environment Variable” and add the variables that we dealt with in the previous step. devprime_app, devprime_observability, devprime_web, devprime_stream1, devprime_state1, devprime_custom, and devprime_services.
To view the variables, open the “Devpoyment” file in Visual Studio Code.
code .devprime\kubernetes\deployment.yml
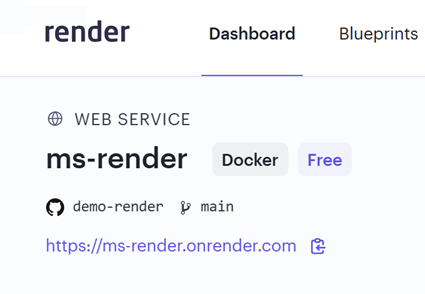
At the end of the docker image build process and with the correct environment variables, the service will be live and will already have a public URL available to test the service.
Final considerations
Here’s a brief example of publishing a microservice on the Devprime platform hosted on Render. Use this as a reference for publishing other services. You can add additional features, such as RabbitMQ, Redis, and especially enable security using an identity provider. /../../settings/security/), such as Keycloak, Auth0, and others, to secure access to APIs.
Last modified August 20, 2024 (2f9802da)