Heroku
Heroku offers a cloud platform for application publishing and we will be developing two microservices using the Devprime platform, MongoDB and Kafka and asynchronous communication. /../how-to/stream/rabbitmq/asynchronous-microservices-communication/).
Items needed in your environment
- Install .NET SDK 6 or higher
- Visual Studio Code
- An active Heroku account
- An active account on the Devprime platform and Developer or Enterprise license.
- An account in MongoDB Atlas
- An account in Confluent Cloud
- Devprime CLI installed and active (
dp auth) - docker local live + GIT
- Powershell or Bash
Creating Accesses and Obtaining Credentials
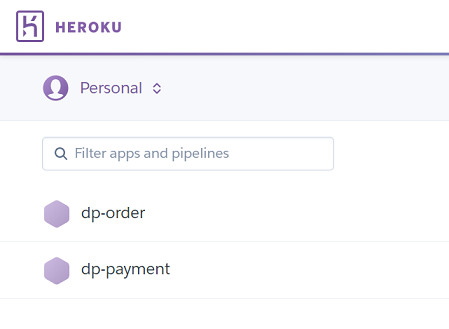
1) Go to Heroku
a) Create a new app and save the name
b) Create a second app and save the name
c) Get the access token from “API KEY”
2) Go to MongoDB Atlas
a) Create a free mongodb database
b) Obtain the access credentials
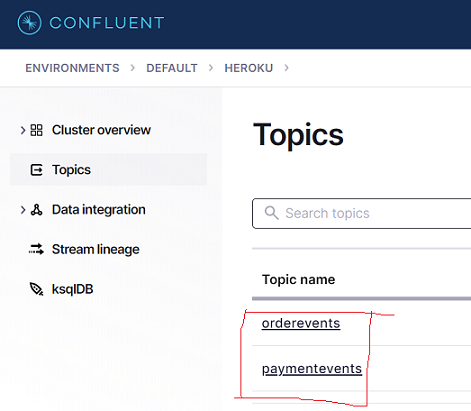
3) Go to Confluent Cloud and create a Kafka service
a) Create a free Kafka stream service
b) Add the topic with the name ‘orderevents’
c) Add a topic named ‘paymentevents’
d) Obtain the Confluent Cloud access credentials
4) Install the Heroku CLI and log in
heroku container:login
Creating the ‘Order’ microservices using Devprime CLI
We will use the Devprime CLI to create the microservices.
- Building the microservice
dp new dp-order --stream kafka --state mongodb
Enter the dp-order folder to view the microservice - Adding business rules
dp marketplace order - Accelerating implementations
dp init
Alter the settings by adding the MongoDB/Kafka credentials
a) In the project folder, open the configuration file
code .\src\App\appsettings.json
b) In the State item add the MongoDB credentials
c) In the Stream item add the Kafka credentials
Run microservices locally.
.\run.ps1 ou ./run.sh (Linux, MacOS)
Make a test post
a) Open the web browser in http://localhost:5000 or httsp://localhost:5001
b) Click on post and then on ‘Try it out’
c) Put in the data and send
If everything has gone well so far, then you can move forward with the rest of the configuration and publication in the Heroku environment.
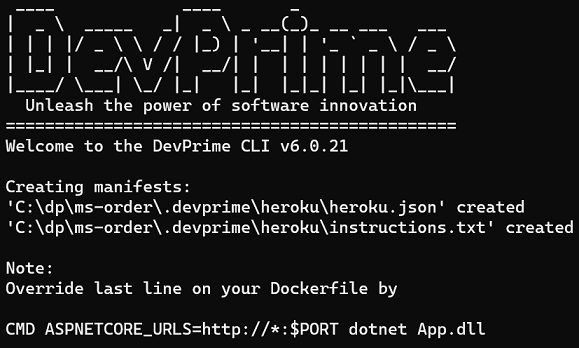
Adapting the project’s dockerfile to support Heroku
a) Find and remove the line below
ENTRYPOINT ["dotnet", "App.dll"]
b) Add the line below to the end
CMD ASPNETCORE_URLS=http://*:$PORT dotnet App.dll
Export Settings
dp export heroku
Publishing the settings on Heroku
a) Locate and open the created file
code .\.Devprime\heroku\instructions.txt
b) Locate the tag <app-name> and replace it with the name of your app-name1
c) Locate the <token> tag and replace the Heroku access token
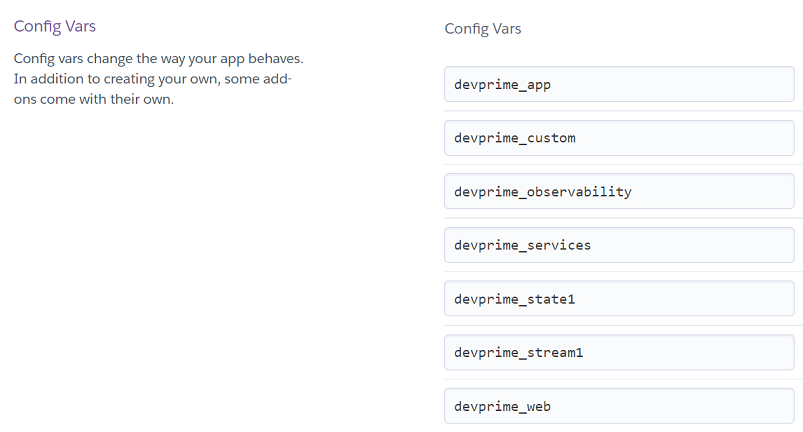
d) Now we will create the ‘Config Vars’ environment variables on Heroku
- Copy the curl command in the one changed in the previous steps
- Run it from the command line.
- Note the difference of curl in Windows Command, Powershell, Linux.
curl -X PATCH https://api.heroku.com/apps/<app-name>/config-vars -H "Content-Type: application/json" -H "Accept: application/vnd.heroku+json; version=3" -H "Authorization: Bearer <token>" -d @.\.Devprime\heroku\heroku.json
Config Vars settings of your app-name1 on Heroku
Portal -> App -> Settings -> Config Vars
docker Image Build and Publish
a) Before running the command, change the <app-name>
- Compilation and submission
heroku container:push web --app <app-name> - Change to release
heroku container:release web --app <app-name>
At this point, you can already view the microservice in the portal
Accessing the project’s public url
heroku open
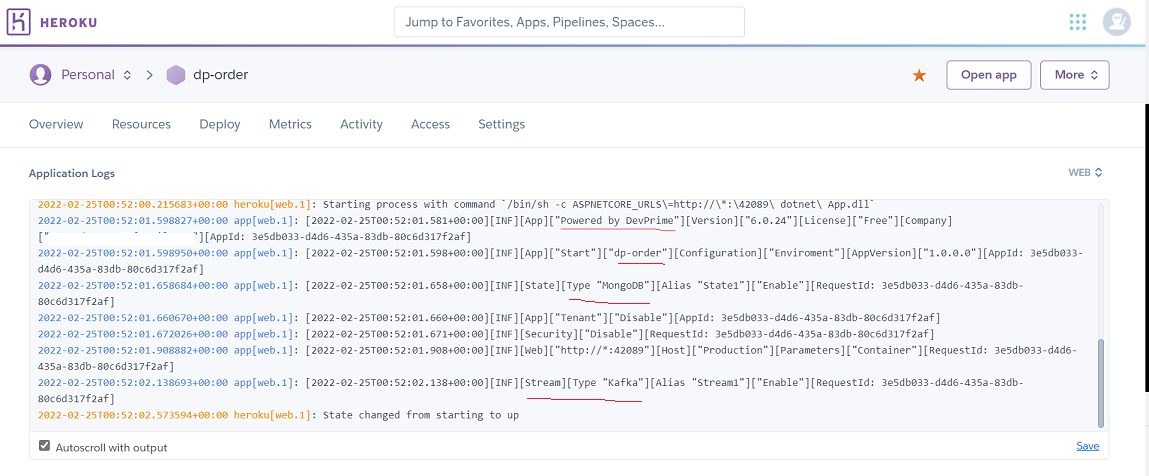
Viewing the Log of the app-name1 microservice
a) Before running the command, change the <app-name>
heroku logs --tail --app <app-name>
Creating a new payment microservice’
The process below speeds up the creation and already executes the ‘dp init’
dp new dp-payment --state mongodb --stream kafka --marketplace payment --init
At the end, enter the dp-payment folder
Delete settings and credentials
a) In the project folder, open the configuration file
code .\src\App\appsettings.json
b) Change the doors from item Devprime_Web to ‘https://localhost:5002; http://localhost:5003’
c) In the State item add the MongoDB credentials
d) In the Stream item add the Kafka credentials
e) Include no subscribe a queues ‘orderevents’.
|
|
Recebimento de eventos no adapter de Stream
a) Implementing an event in Stream
dp add event OrderCreated -as PaymentService
b) Change the DTO ‘OrderCreatedEventDTO’
code .\src\Core\Application\Services\Payment\Model\OrderCreatedEventDTO.cs
|
|
Configurando o Subscribe no Stream
a) Open the Event Stream configuration
code .\src\Adapters\Stream\EventStream.cs
b) Change the implementation in Subscribe
|
|
Modify the configuration in the project’s dockerfile
a) Find and remove the line below
ENTRYPOINT ["dotnet", "App.dll"]
b) Add the line below
CMD ASPNETCORE_URLS=http://*:$PORT dotnet App.dll
Export Settings
dp export heroku
Publishing the settings on Heroku
a) Locate and open the created file
code .\.Devprime\heroku\instructions.txt
b) Locate the tag <app-name> and replace it with the name of your app-name2
c) Locate the <token> tag and replace the Heroku access token
d) Now we will create the ‘Config Vars’ environment variables on Heroku
- Copy the curl command in the one changed in the previous steps
- Run it from the command line.
- Note the difference of curl in Windows Command, Powershell, Linux.
curl -X PATCH https://api.heroku.com/apps/<app-name>/config-vars -H "Content-Type: application/json" -H "Accept: application/vnd.heroku+json; version=3" -H "Authorization: Bearer <token>" -d @.\.Devprime\heroku\heroku.json
docker Image Build and Publish
a) Before running the command, change the <app-name>
- Compilation and submission
heroku container:push web --app <app-name> - Change to release
heroku container:release web --app <app-name>

Optional steps to stop services or view processes
a) Before running the command, change the <app-name>
heroku ps --app <app-name>
heroku ps:stop web.1 --app <app-name>
heroku ps:start web.1 --app <app-name>
Final Thoughts
- During this Heroku journey we developed two microservices.
- To automate your devops strategy, use GitHub Actions.